Get In Touch
CD TECH Innovations Pvt Ltd
#95, Pantheon Road, Egmore, Chennai, TN
INDIA 600008
Inquiries
- enquiry@cdtech.in
- Ph +91 80690 78888
CD TECH Innovations Pvt Ltd
#95, Pantheon Road, Egmore, Chennai, TN
INDIA 600008
A Comprehensive Guide to Enhance Your Live Streaming and Video Management Capabilities

Livebox is a powerful streaming server that offers various features to enhance your live streaming and video management capabilities. One of the critical features for businesses and content creators is the ability to save your videos within Livebox. This feature offers multiple recording formats, robust file management, and video customization options. Let’s explore how Livebox can be incredibly beneficial for your business.

Navigate to the live streaming channel settings in your Livebox dashboard.
Select the desired recording format (FLV, MP4, HLS) from the available options.
HLS: Perfect for adaptive bitrate streaming
Navigate to the live streaming channel settings in your Livebox dashboard.
Select the desired recording format (FLV, MP4, HLS) from the available options.
HLS: Perfect for adaptive bitrate streaming

Go to the 'File Management' section in the dashboard.
Here you will find all your recorded files listed along with options to download or encode.
Select the files you wish to download or encode.
Choose the desired format and quality settings if encoding is required.
HLS: Proceed with the download or encoding process.

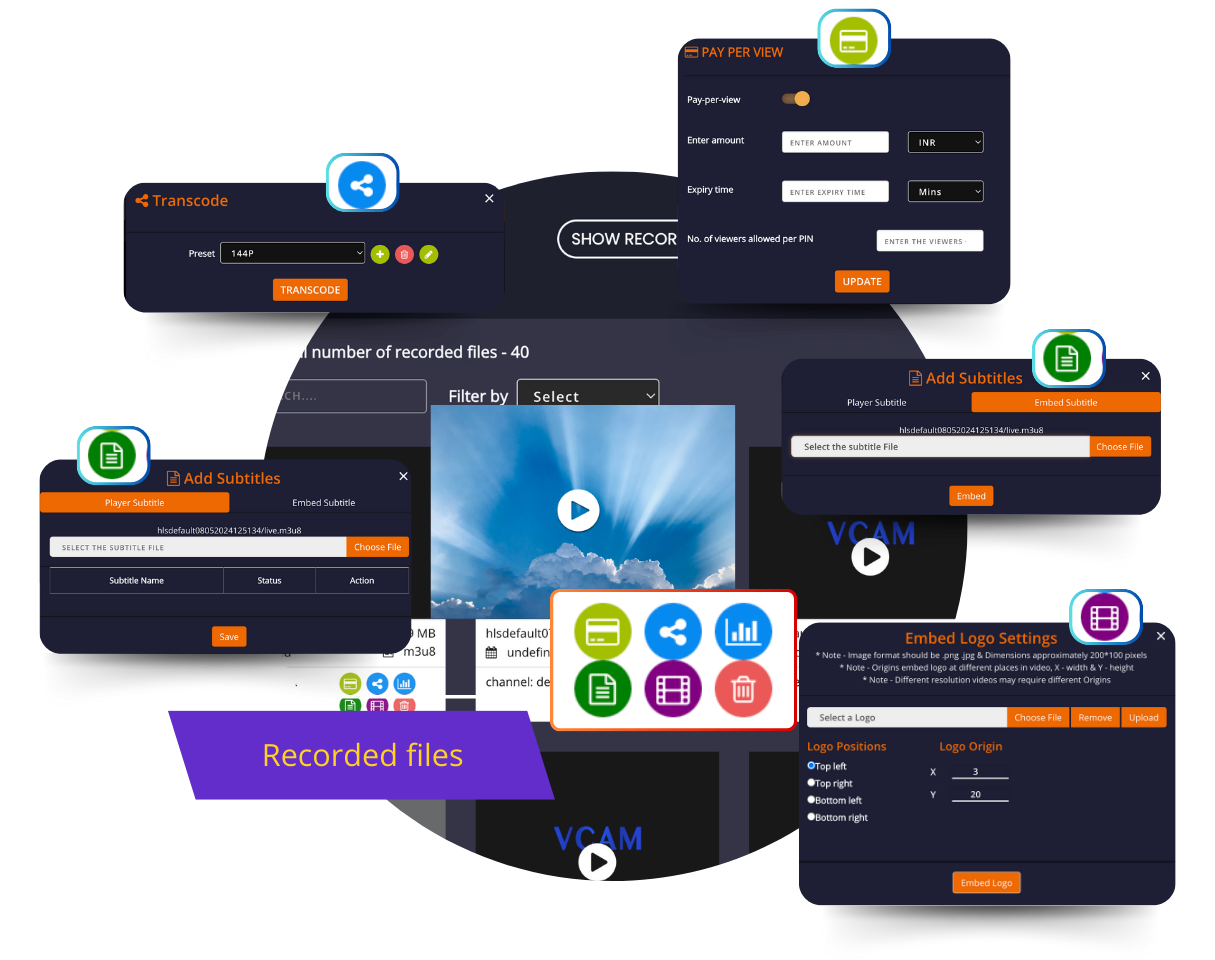
Navigate to the 'Logo Embedding' settings.
Upload your logo image file.
Position the logo as desired on the video.
Go to the 'Subtitle Embedding' section.
Upload your subtitle file in the required format (SRT, VTT).
Sync the subtitles with the video timeline.
Step-by-Step Guide
Navigate to the recording settings in your Livebox dashboard.
Select the formats you wish to record in (FLV, MP4, or HLS).
Initiate your live stream. Livebox will automatically start recording in the chosen formats.
Ensure you have enough storage allocated for recording as per your requirements.
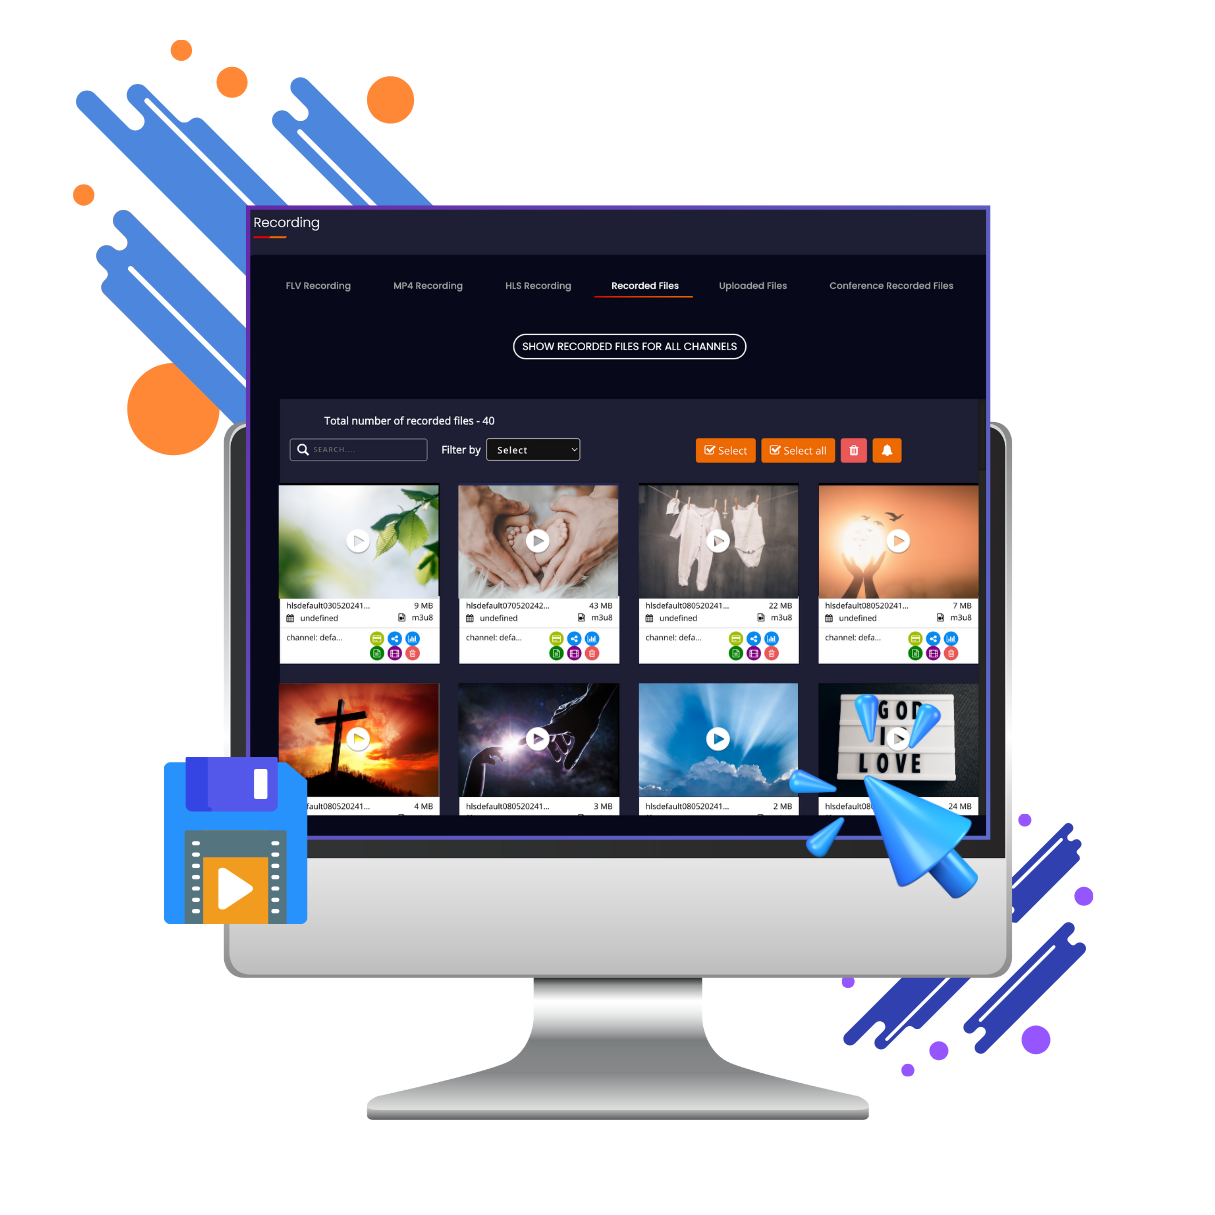
Access the ‘File Management’ section to view, download, or encode your recorded videos.
Use the embed tools to add logos or subtitles if required.
Record live events and webinars, then edit and distribute high-quality content to your audience.
Capture lectures and interactive sessions, add subtitles for accessibility, and embed institutional branding on every video.
Stream and save product launches or promotional events, later use the recorded material across various marketing channels.
Archive training sessions for future reference or onboarding purposes, ensuring that all employees have access to consistent training material.
By leveraging Livebox’s robust video recording and management features, businesses can ensure top-quality content creation and distribution while maintaining brand consistency and accessibility.
If you have any specific requirements or need further assistance, feel free to get in touch!
Welcome to
Livebox
Schedule a live demo with our live experts to see how Livebox™ can help you to do live streaming the expert way.
Live Streaming is here